今回は、インストールしたVirtualBoxにmininetのイメージをマウントして使えるようにするまで、やってみようと思います。
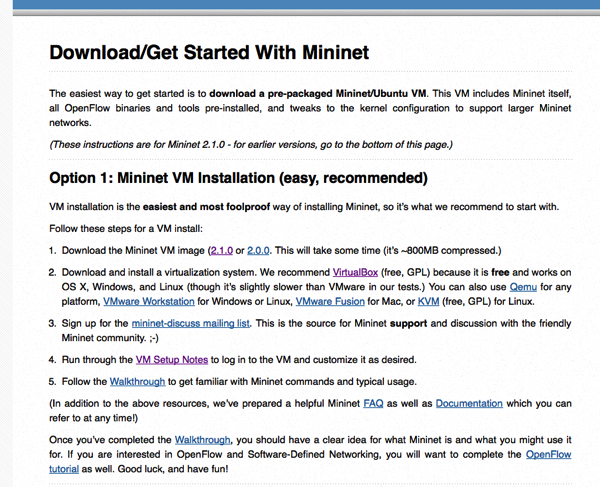
1. mininetのダウンロード

2. [ファイル]-[仮想アプライアンスのインポート]

3. アプライアンスの設定
・ゲストOSのタイプを、「Ubuntu 64bit」に変更
・仮想ディスクイメージの欄、.vmdkファイルのパスを確認
上記を確認してから「インポート」をクリック

うまくいくと思いきや、エラーが表示される。。
mininetのページにいくと、以下の記載が。。
VirtualBox:
-
As of the latest VirtualBox, the
.ovffile may not import without errors, so instead of importing it you should create a new VM of the appropriate type (e.g. Linux, Ubuntu 64-bit) and use the.vmdkfile as the virtual hard disk for the new VM. If you are using an older version of VirtualBox, you may simply be able to import the.ovfdirectly (we intend to fix this in the future to make it easier.) -
Select “settings,” and add an additional host-only network adapter so that you can log in to the VM image. Start the VM.
というわけで、気を取り直して、新規作成から。。。
1. 新規作成
・名前:mininet
・タイプ:Linux
・バージョン:Ubuntu (64bit)
として、「続ける」をクリック

2. メモリーサイズは、1024 MB割り当てました。

3. ハードドライブでは、「すでにある仮想ハードドライブファイルを使用する」をチェックして、「mininet-vm-x86_64.vmdk」を選択します。その後「作成」ボタンをクリック。

4. イメージが完成

5. 起動ボタンをクリックすると、以下のようにmininetがインストールされた、Ubuntuが起動します。


6. ログインしてみます。
・login:mininet
・パスワード:mininet
でログイン。

7. やめるには、仮想マシンを停止します。
・$ sudo shutdown -h now

とりあえず、今回はここまで。
次回は、mininetで色々設定してみたいと思います。

